Recently HOK had a requirement to create a external louvered system for the facade of a building. However, the challenge for this was that the facade was sloped as well as curved in plan.
 So what this is how it was achieved……
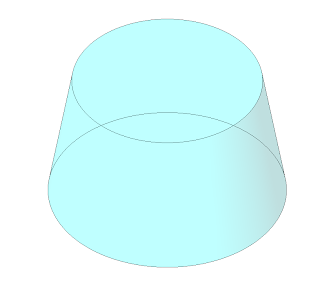
First create a mass element as a blend; which blends from circle into another circle. If you are not sure about using massing refer to Ian’s tutorial on his excellent Revit Zone website. Make the blend a reasonable size, in this instance the bottom radius was 10m, top radius was 7m, height was 12m.

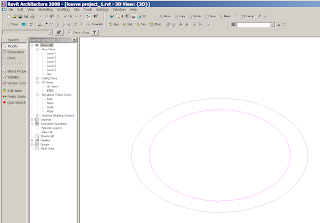
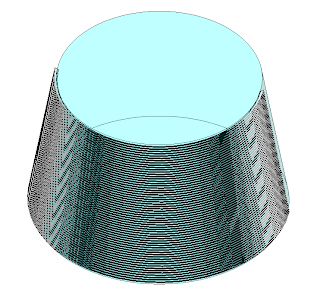
When you finish your mass blend you should have something which looks like this.
 Then using the curtain system by face in the massing tools, we will skin the mass with a curtain wall system. However, before we do this we are going to create a new curtain wall type, which includes some specific settings as well as mullions to define the louvers. You will need to take care when doing this as it can create a rather heavy model, so play this technique before unleashing it on any live projects!!!
Pick the curtain system by face tool, go to the options bar and then element properties.

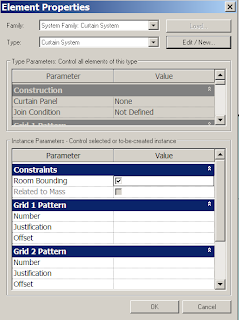
The element properties dialogue box will now appear. We are now going to duplicate one of the standard shipping curtain wall styles and rename it. So in element properties, click the edit/new button.
Next click duplicate, this will duplicate the existing curtain wall style, you also have a chance to rename it.
Now we are going to make to some changes to this particular curtain wall style in its type properties. You may want to follow my settings so that you can achieve similar results.
In the construction set the Curtain Panel to be “Empty System Panel-Empty”
Set Grid Pattern 1 to Layout fixed distance, spacing 1000mm.
Set Grid Pattern 2 to Layout fixed distance, spacing 200mm. Make sure adjust for mullion size is ticked.
Leave Grid 1 Mullion empty.
In Grid 2 Mullion, make sure you select a suitable mullion for Interior type. Use one of the default ones for this exercise, but you could create your own profile and assign this to a suitable mullion style.


Once you have setup these different parameters, select ok to come out of the type properties and then the element properties dialogue box.
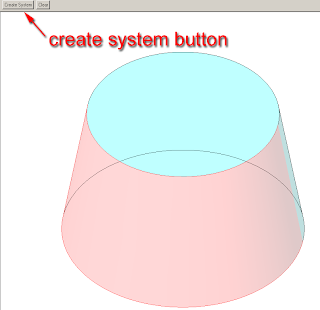
Now using your newly created curtain wall style, use the curtain system by face tool and select the blend shape we create in the first place. Select one half of the blend arc, so that it goes red. Then click the create system button which will appear in the options bar.
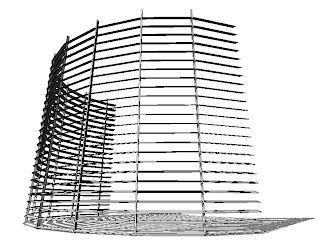
Now after some heavy calculation!!! Revit will generate the curtain wall system.
 All it requires you to do now is, hide your mass and set up a nice perspective view, turn shadows on and to show off your handy work!!!
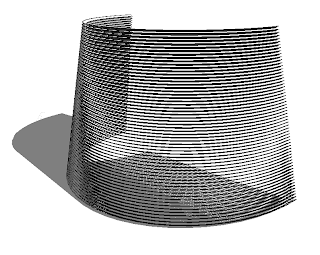
The end result may not make it into your next architectural project, but it does show the power of Revit if you think out side of the box. :-)
4 comments :
Thats a great tip buddy
Cheers
thanks for that!!
thanks for that!!
This is a great workaround. Thanks.
A quick question: When I try this on a curved surface (similar to the example, although with a tighter radius) all of the horizontal mullions appear as straight sections, as opposed to the nicely curved mullions shown in the example
What gives? What am I likely missing that results in straight mullion sections along the curved walls?
Thanks.
Post a Comment