So to model a swept blend using the massing tools, you do the following…
Go to the massing tools in the design bar.
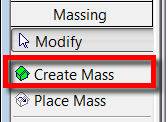 Click create new mass.
Name your mass and then choose solid swept blend, from the Solid Form tools. This will take you into the sketch mode allowing you to create the various parts which will make up the swept blend.
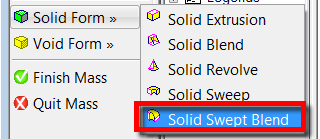
We will start by defining the path. You can either Pick Path or Sketch a path; your path can consist of a line, arc, spline or ellipse. Unfortunately your path cannot contain more than one arc. Sketch your path and select finish path from the menu.
 If you now open a 3d view, you will see the path you have just drawn with two green crosses at either end of the path. These are the two planes where we will draw our profiles.
 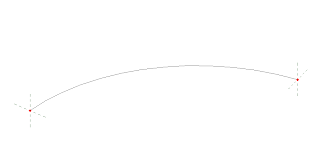 So select Sketch profile 1 from the design bar and use the drafting tools to sketch a closed shape for our first profile. Once this profile is finished, do the same exercise for Sketch profile 2.
You should now have something which looks like this.
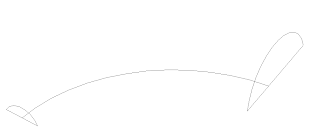
All you now need to do is select Finish Swept blend from the design bar to form the geometry.

Finally, select Finish Mass to exit out of the Mass tools.
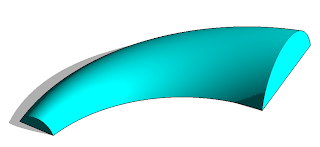 The new Swept Blend tool will allow you to create geometry like this…..
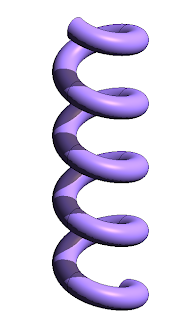
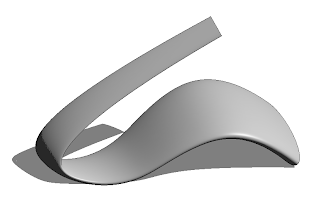
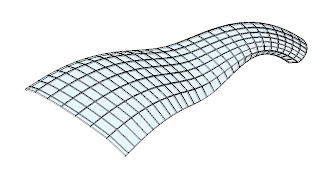 Another challenge in the past was to create a spiral piece of wall to infill under a spiral ramp or staircase. Click on the image below to open a movie example....
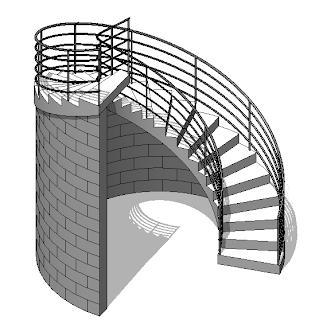 Or select this link Swept Blend movie example where I explain how to achieve this using the new swept blend as a piece of void geometry which I subtract from the main wall.
4 comments :
Nice David! Why don't you show us how you did the form below that "spring"? ;) I suppose that was made up of multiple swept blends, correct?
Hi Dave!!! Hope you are well? You are sort of correct, the form was created using the new swept blend, but it was made up of a spline created in an elevation view on a vertical named work plane; then I used two ellipses offset and slightly rotated, either end of the sketch planes two give it the warped effect. The only reason I used the spline is because you can’t have multiple arcs or segments to make up the path of the swept blend, which is a shame.
Hi David, Im trying to make a spiral array of an object in revit 2008. Do you know how can I make that spiral path. There is a command on autocad call helix but in revit I dont know hot to do it, please give me a hand.
how do you the basic slinky looking spiral? thanks, Rob
Post a Comment